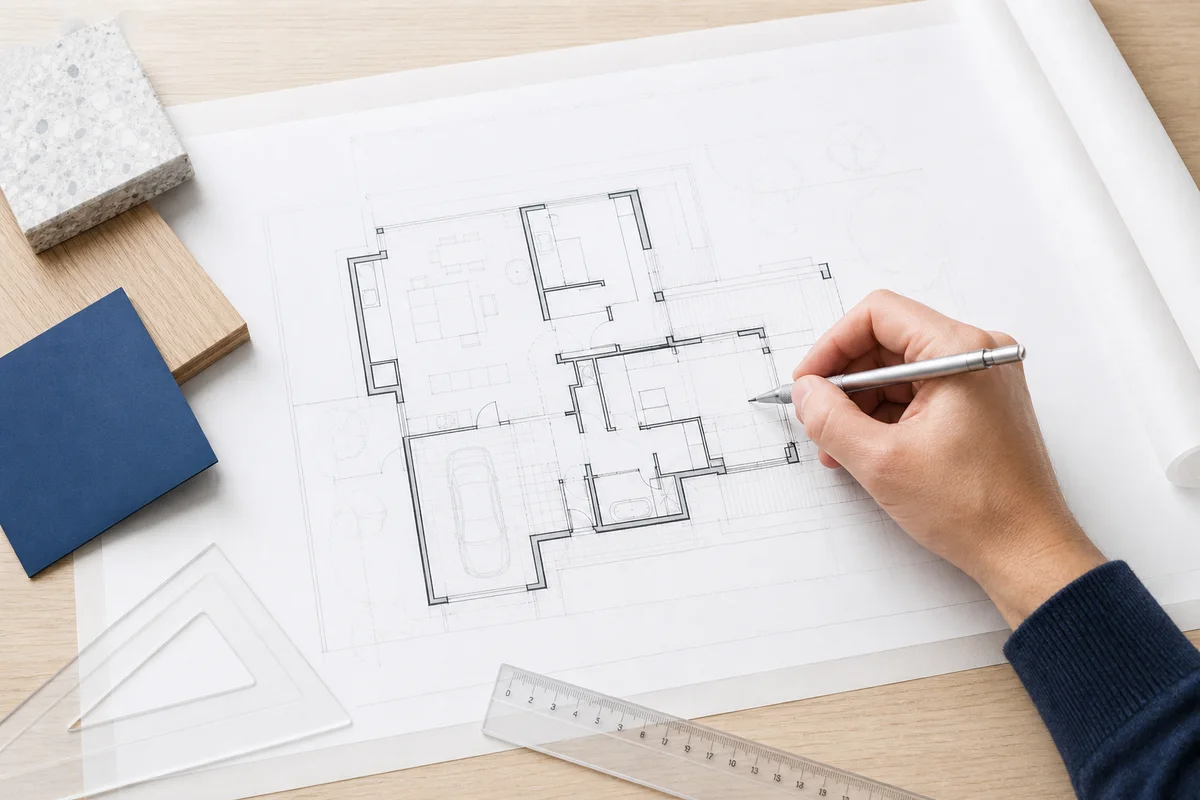
Drawing a floor plan is not mainly about making straight lines. It is about turning a real or imagined space into a reliable map of walls, openings, rooms, and movement. A good plan lets another person understand the layout without standing in the building. It shows what connects, what is separated, and whether furniture and people can fit comfortably.
You can draw a useful first plan with graph paper, a pencil, a tape measure, and a ruler. Digital tools make revisions faster, but the thinking process is the same. Start with accurate information, work from the outside inward, and check every major decision before adding detail.
1. Decide What the Plan Is For
The level of detail depends on the job. A homeowner comparing remodel ideas may only need room boundaries, doors, windows, and approximate dimensions. A real estate plan emphasizes clarity and recognizable room names. A construction drawing requires much more: verified dimensions, structural information, code notes, levels, materials, and professional review.
Write down the purpose before drawing. Also note the floor, the units you will use, and whether the plan represents existing conditions or a proposed layout. This prevents an early sketch from being mistaken for a final document.
2. Measure the Outer Boundary
For an existing room or building, begin with the overall footprint. Measure each exterior wall from corner to corner. If the footprint steps inward or outward, record every segment in sequence instead of trying to estimate the total shape from memory.
Choose one unit system and keep it consistent. Record feet and inches carefully, or use meters and millimeters throughout. Take diagonal measurements when a room may not be square. Two walls can have the expected lengths while an angled corner quietly changes the whole geometry.
Photograph each wall and number the photos to match your notes. A simple field sketch with dimension arrows is often more valuable than a neat drawing made from uncertain measurements.
3. Choose a Scale
A scale converts real dimensions to a manageable drawing. On graph paper, one square might represent 6 inches, 1 foot, or 0.25 meters. Common professional scales include 1:50 and 1:100 in metric work, or 1/4 inch equals 1 foot in imperial work.
Pick a scale that fits the complete footprint on the page while leaving room for dimensions and notes. Do not change scale halfway through. If the plan is digital, the software usually stores real dimensions and handles zooming for you, but you should still understand the intended print scale.
4. Draw Exterior and Interior Walls
Draw the outside walls first. Confirm that the total width and depth agree with your field notes. Then locate interior partitions by measuring from known exterior corners or other fixed references. Avoid building a chain of small measurements across many rooms because small errors accumulate.
Represent walls with two lines or a clear filled thickness rather than a single centerline. Exterior walls are often thicker than interior partitions. At concept stage, the exact construction may be unknown, but consistent wall thickness makes the plan easier to read and prevents rooms from appearing slightly larger than they are.
5. Add Doors, Windows, and Fixed Elements
Mark each door opening and show its swing with an arc. The arc immediately reveals conflicts with cabinets, toilets, other doors, or circulation. Sliding and pocket doors use different symbols, so identify them accurately.
Place windows by measuring from a nearby corner to the opening, then record the opening width. For remodel planning, note sill height when it affects counters, furniture, or privacy. Add stairs, columns, fireplaces, plumbing fixtures, built-in cabinets, kitchen counters, and other fixed elements before loose furniture.
If symbols are unfamiliar, review our floor plan symbols guide before finalizing the drawing.
6. Label Rooms and Add Dimensions
Use familiar room names and keep labels centered where possible. Dimensions should answer practical questions without covering the drawing. Start with overall building dimensions, then add major room sizes and critical openings.
Do not duplicate every measurement. Too many dimension strings create noise and make contradictions more likely. A reader should be able to understand the overall footprint, locate partitions, and verify important clearances.
For an early layout, room width and depth may be enough. For measured existing conditions, include the dimensions needed to reconstruct the plan. Always state whether dimensions are approximate.
7. Test Circulation and Furniture
A technically accurate outline can still describe a poor layout. Imagine entering through the main door and walking to every major destination. Look for routes that cut through seating, cross the kitchen work area, expose private rooms, or force people through narrow gaps.
Add simple furniture blocks at realistic sizes. A bedroom needs more than space for a mattress; it needs approach space, door clearance, and storage access. A dining table needs room for chairs to pull out. In an office or shop, accessible routes and turning areas may control the arrangement.
Read the plan as a sequence of daily actions. Our beginner's guide to reading floor plans provides a useful checklist for this review.
8. Redraw Cleanly and Verify
Once the layout works, produce a clean version. Align walls, close accidental gaps, use consistent line weights, and remove construction marks. Add a title, scale, date, and revision note. Then compare the finished plan against the original measurements one more time.
Check that room dimensions add up to the overall footprint after wall thickness is considered. Confirm every door and window. If you edited a proposed layout, compare the revision with the original so you understand which walls moved and what those changes affect.
Paper, CAD, or AI?
Paper is excellent for learning and quick field notes. CAD provides precision and professional documentation but takes longer to master. An AI floor plan maker is useful between those stages: you can describe a room program, receive dimensioned geometry, drag walls, and export a visual draft without starting from an empty sheet.
Use AI to explore alternatives, not to replace measurement or professional responsibility. Generated plans do not know the structure hidden inside walls, local fire rules, accessibility requirements, or site constraints unless those facts are verified and incorporated.
Final Checklist
Before sharing the plan, confirm the footprint, wall locations, openings, scale, room names, and major clearances. Make sure the file is labeled as a concept, measured plan, or construction document. A clear floor plan does not need to be decorative. It needs to be consistent, legible, and honest about what has been verified.